To start with Raspberry Pi projects, choose a model, gather components, install the operating system, set up the Pi, and explore online resources.
Getting Started with Raspberry Pi Projects
The Raspberry Pi is an affordable, versatile single-board computer that can be used for various DIY projects and educational purposes. In this article, we will guide you through the steps to get started with Raspberry Pi projects.
Step 1: Choose Your Raspberry Pi Model
There are several Raspberry Pi models available, each with its own specifications and price range. Select a model that best fits your project requirements and budget. Popular models include the Raspberry Pi 4 Model B, Raspberry Pi 3 Model B+, and Raspberry Pi Zero W.
Step 2: Gather Essential Components
For a basic Raspberry Pi project, you’ll need the following components:
- A microSD card (minimum 8 GB) with an SD card adapter
- A power supply with a micro USB or USB-C connector (depending on your model)
- An HDMI cable for video output
- A USB keyboard and mouse
- A display (monitor or TV)
- An optional case to protect your Raspberry Pi
Step 3: Install the Operating System
The official Raspberry Pi operating system is called Raspberry Pi OS. Follow these steps to install it:
- Download the Raspberry Pi Imager from the official website
- Install the Imager on your computer and run it
- Select the Raspberry Pi OS from the list of available options
- Insert the microSD card into your computer using the SD card adapter
- Select the microSD card as the target in the Imager
- Click “Write” to install the operating system onto the microSD card
- Once complete, remove the microSD card from your computer and insert it into your Raspberry Pi
Step 4: Set Up Your Raspberry Pi
Connect the keyboard, mouse, display, and power supply to your Raspberry Pi. Turn on the power supply, and the Raspberry Pi will boot up. Follow the on-screen prompts to complete the initial setup, including connecting to Wi-Fi, updating the system, and setting your preferred language and timezone.
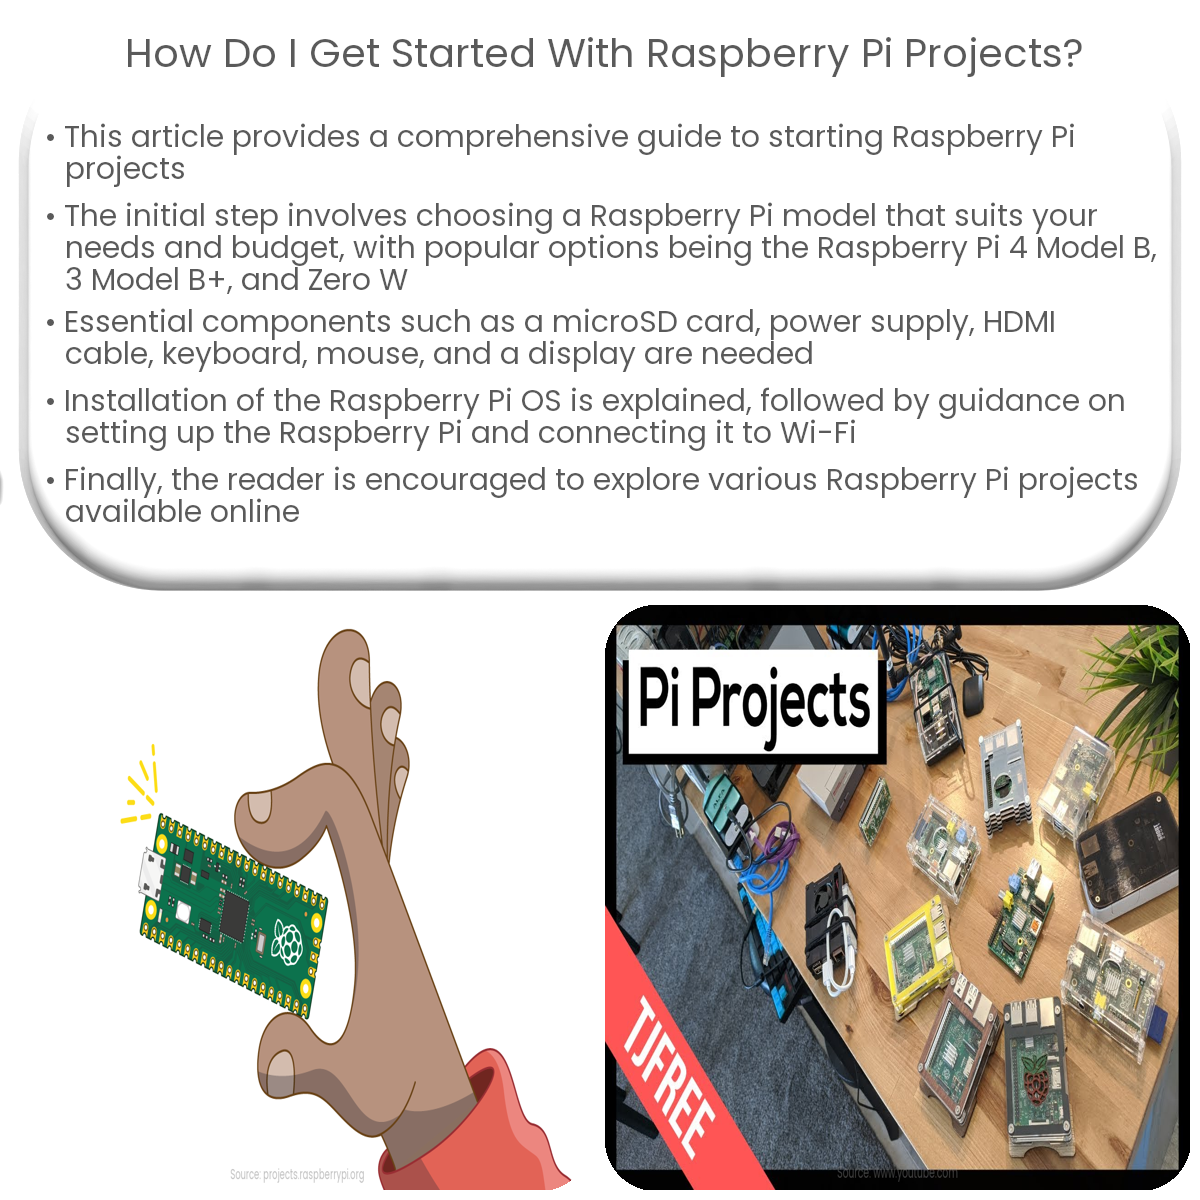
Step 5: Explore Raspberry Pi Projects
Now that your Raspberry Pi is up and running, explore various projects and tutorials available online. You can create a home automation system, a media center, a retro gaming console, or even a weather station. The possibilities are endless!