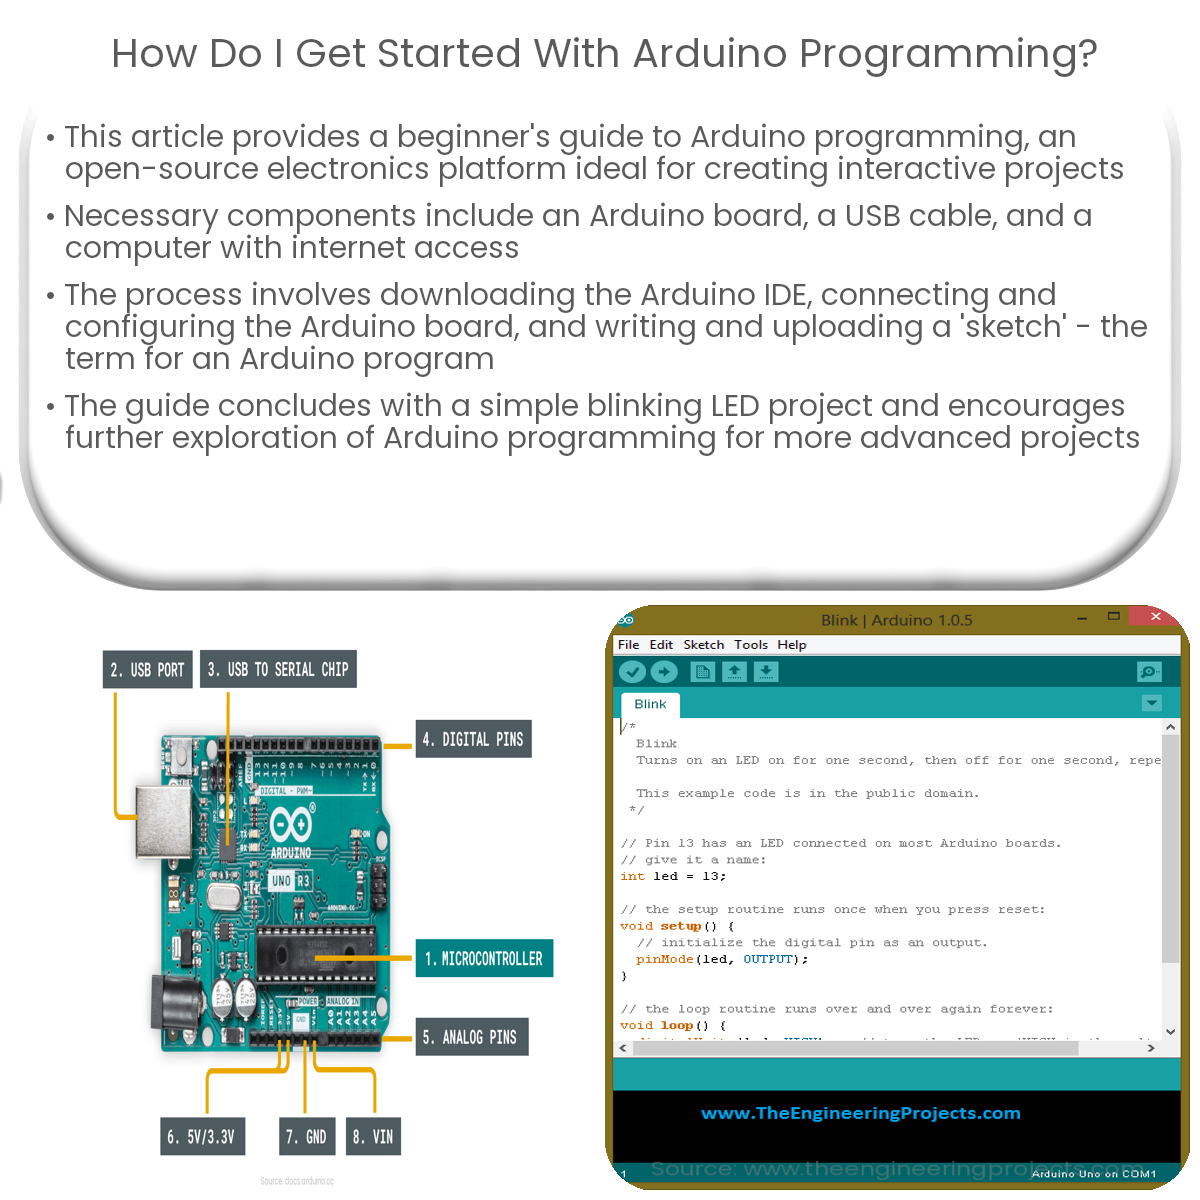
To start Arduino programming, gather components, download and install Arduino IDE, connect the board, configure IDE, write and upload a sketch.
Getting Started with Arduino Programming
Arduino is an open-source electronics platform that simplifies the process of creating interactive electronic projects. Programming an Arduino is easy, even for beginners. In this article, we will guide you through the basic steps to get started with Arduino programming.
Step 1: Gather the Required Components
Before you begin, you’ll need the following components:
- An Arduino board (such as the Arduino Uno)
- A USB cable (Type A to Type B)
- A computer with internet access
Step 2: Download and Install the Arduino IDE
Arduino uses its own Integrated Development Environment (IDE) for programming. Visit the official Arduino website and download the latest version of the Arduino IDE for your operating system. Follow the installation instructions provided on the website to set up the software on your computer.
Step 3: Connect Your Arduino Board
Using the USB cable, connect the Arduino board to your computer. Once connected, the board should be recognized by your computer and the necessary drivers will be installed automatically.
Step 4: Configure the Arduino IDE
Open the Arduino IDE, and configure it to work with your specific Arduino board:
- Select your Arduino board model from the “Tools” menu under “Board.”
- Choose the correct port by going to “Tools” and then “Port.”
Step 5: Write Your First Arduino Sketch
Arduino programs are called “sketches.” Create a new sketch by clicking “File” and then “New.” Now, type the following code into the editor:
void setup() {
  pinMode(13, OUTPUT);
}

void loop() {
  digitalWrite(13, HIGH);
  delay(1000);
  digitalWrite(13, LOW);
  delay(1000);
}
This simple sketch will blink the built-in LED on your Arduino board every second.
Step 6: Upload the Sketch to Your Arduino Board
Once you’ve written the sketch, click the “Upload” button in the Arduino IDE (the right-facing arrow icon). The IDE will compile your sketch and upload it to your Arduino board. If successful, the built-in LED on your board should start blinking.
Congratulations! You’ve now written and uploaded your first Arduino sketch. From here, you can explore various tutorials and resources to learn more about Arduino programming and create more advanced projects.


