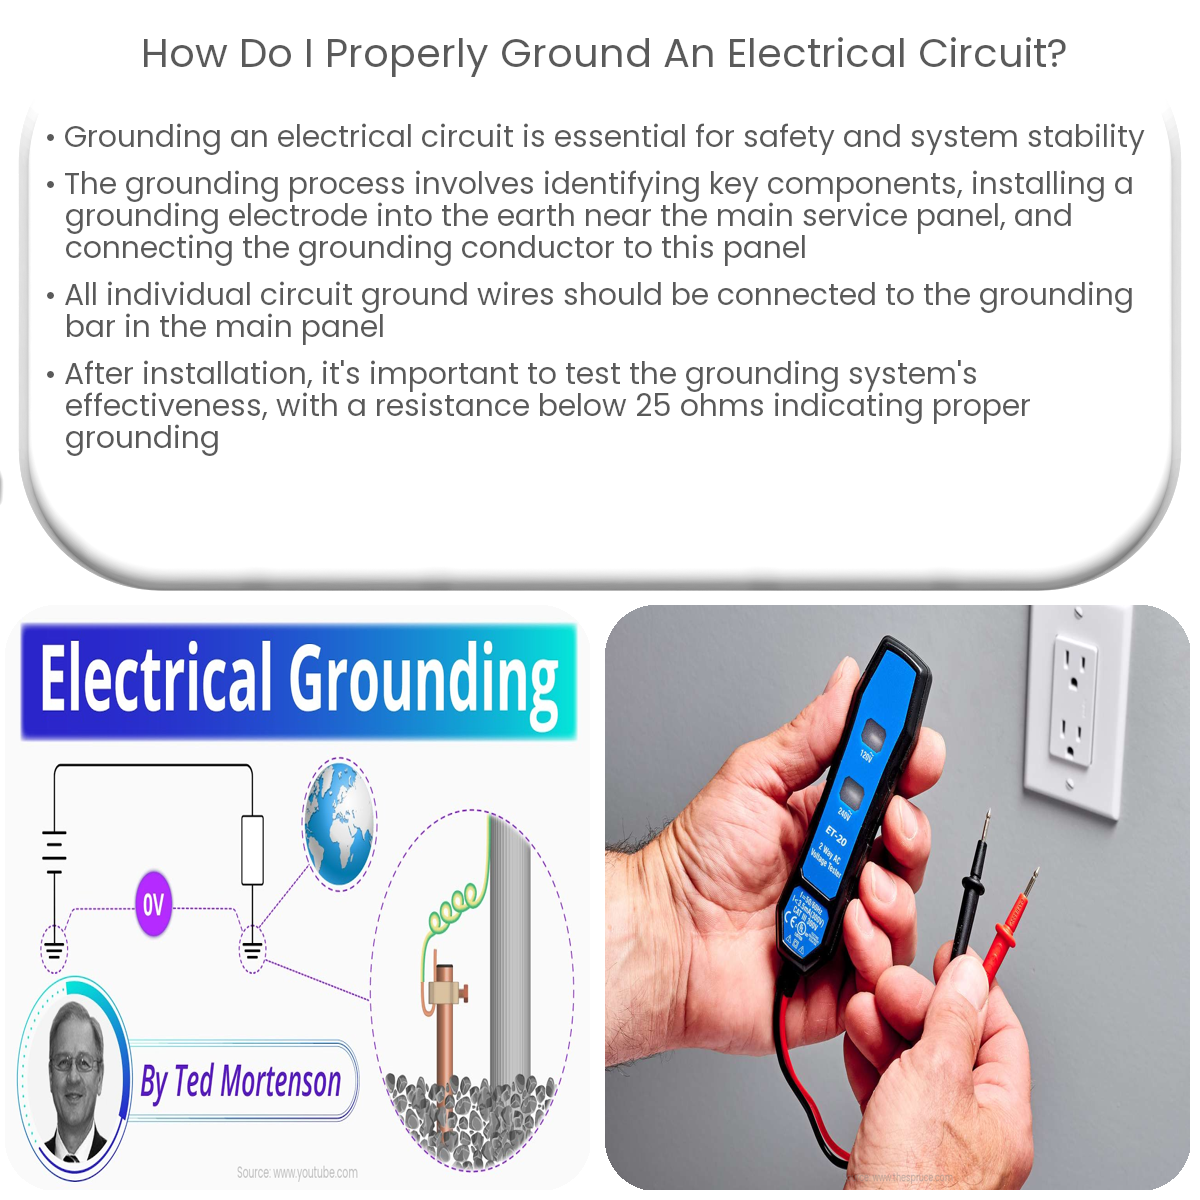
To properly ground an electrical circuit, install a grounding electrode, connect grounding conductors, and attach circuit ground wires to the grounding bar.
Properly Grounding an Electrical Circuit
Grounding an electrical circuit is crucial for ensuring safety and maintaining the stability of your electrical system. This article will provide a step-by-step guide on how to properly ground an electrical circuit.
1. Identify the Grounding Components
Before grounding an electrical circuit, it’s important to familiarize yourself with the essential components involved:
- Grounding conductor: a wire that connects the electrical system to the ground.
- Grounding electrode: a conductive material, typically a metal rod, that connects the grounding conductor to the earth.
- Grounding electrode conductor: a wire that connects the grounding electrode to the main service panel.
- Main service panel: the central distribution point for electricity in your home or building.
2. Install the Grounding Electrode
First, install the grounding electrode by driving it into the ground, typically 8 feet deep, ensuring that it’s in direct contact with the earth. Choose a location close to the main service panel to minimize the length of the grounding electrode conductor.
3. Connect the Grounding Electrode Conductor
Next, attach the grounding electrode conductor to the grounding electrode. This is typically done using a clamp or bolt specifically designed for this purpose. Ensure that the connection is secure and free of corrosion.
4. Attach the Grounding Conductor to the Main Service Panel
Run the grounding conductor from the grounding electrode to the main service panel. The grounding conductor should be connected to the panel’s grounding bar, which may be labeled as “ground” or “GND.” Make sure the connection is tight and secure.
5. Connect Circuit Ground Wires to the Grounding Bar
All individual circuit ground wires should be connected to the grounding bar in the main service panel. This ensures that each circuit has a direct path to the ground, providing safety and stability to the electrical system.
6. Test the Grounding System
After completing the grounding process, it is essential to test the system to ensure its effectiveness. You can use a multimeter to measure the resistance between the grounding electrode and the earth, which should be below 25 ohms for an effective grounding system.
Conclusion
Properly grounding an electrical circuit is a critical safety measure that prevents electrical shocks, stabilizes voltage levels, and protects against lightning strikes. By following the steps outlined in this article, you can ensure that your electrical system is grounded effectively and safely.


