To measure current with a multimeter, set to current mode, insert probes, break the circuit, connect probes, turn on power, and read the value.
Using a Multimeter to Measure Current
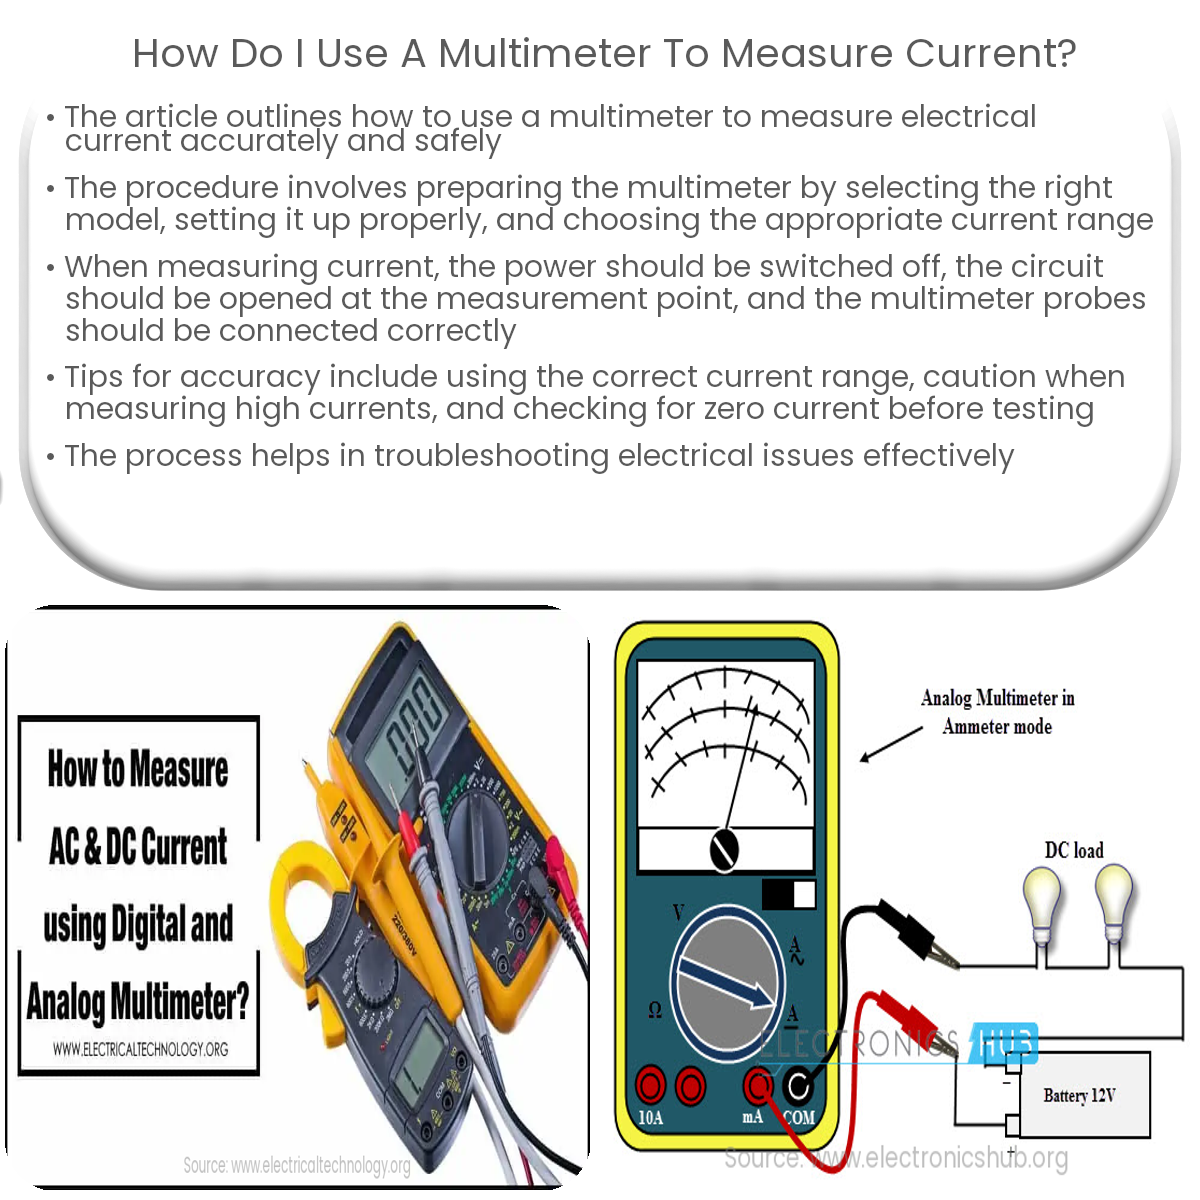
A multimeter is a versatile instrument used to measure various electrical properties, such as voltage, current, and resistance. In this article, we will focus on using a multimeter to measure current accurately and safely.
Preparing the Multimeter
Before measuring current, ensure your multimeter is set up correctly:
- Select the right multimeter: Choose a digital or analog multimeter with a current measurement function, typically denoted by the ampere (A) symbol.
- Insert the probes: Connect the black (common) probe to the COM port and the red (positive) probe to the appropriate current port (usually labeled mA or A) on the multimeter.
- Turn on the multimeter: Switch on the multimeter and set the dial or mode selector to the current (A) measurement function.
- Choose the appropriate range: If your multimeter has a manual ranging function, select a suitable current range based on the expected current value.
Measuring Current
Follow these steps to measure the current flowing through an electrical component or circuit:
- Turn off the power: Switch off the power source and disconnect the component or circuit where you intend to measure the current.
- Break the circuit: Cut the circuit at the point where you want to measure the current, creating an opening for the multimeter probes.
- Connect the probes: Touch the black (common) probe to the side of the opening closest to the power source, and the red (positive) probe to the other side of the opening.
- Turn on the power: Switch on the power source, allowing current to flow through the circuit and the multimeter.
- Read the current value: The multimeter will display the current value in amperes (A). If using an auto-ranging multimeter, it will automatically adjust to the correct range.
- Record the value: Note down the measured current value for further analysis or troubleshooting.
- Restore the circuit: After measuring the current, switch off the power source, remove the multimeter probes, and reconnect the circuit.
Tips for Accurate Current Measurements
Keep the following tips in mind to ensure accurate current measurements:
- Use the correct current range: Selecting an appropriate current range on the multimeter is crucial for accurate readings.
- Be cautious with high currents: Measuring high currents can generate heat and pose a risk. Use a multimeter rated for the expected current level.
- Check for zero current: Before testing, confirm that the multimeter reads zero or near-zero current with the probes disconnected from the circuit.
In conclusion, using a multimeter to measure current is an effective method for testing electrical components and circuits. By following the steps and tips outlined above, you can accurately measure current and troubleshoot electrical issues with confidence.