Explore the basics of breadboards, their structure, uses, types, and limitations. A must-read for beginners in electronics prototyping.
Introduction to Breadboards
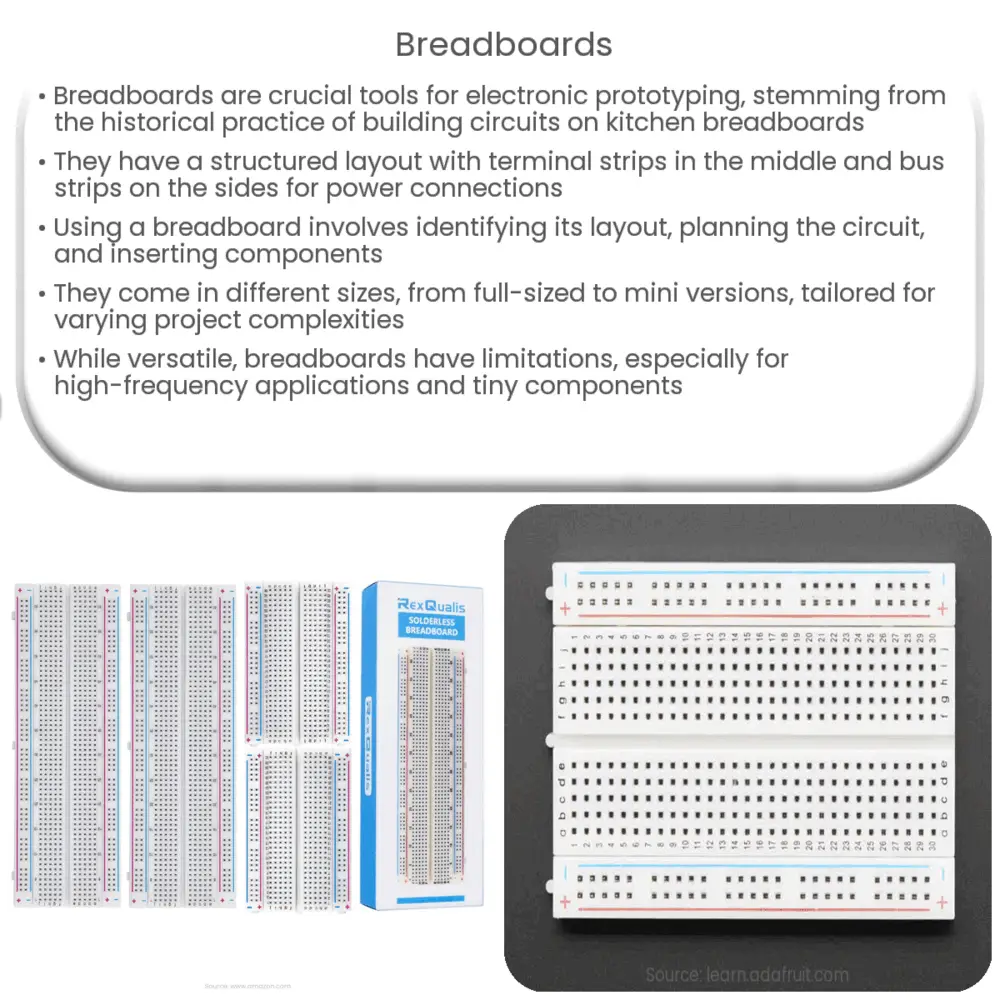
A breadboard, a key tool in electronic prototyping, provides a user-friendly platform to experiment with electrical circuits. Its name is derived from the early practice of literally building circuits on kitchen breadboards. Today, breadboards are much more sophisticated, with neatly arranged rows and columns of connection points to facilitate circuit design and testing.
Structure of a Breadboard
Breadboards have a simple but very functional layout. The middle section is composed of two blocks of parallel rows for accommodating integrated circuits (ICs) and other components. Each row is electrically connected internally, providing a convenient way to establish connections between different parts of the circuit. This area is often referred to as the terminal strip.
The breadboard also features two sets of longer columns along the sides known as the bus strips. These strips are typically used for power supply connections. The top and bottom rows are commonly used for the positive (typically red) and negative (typically blue or black) power supplies, respectively. Some breadboards come with colored lines indicating these connections.
Using a Breadboard
Utilizing a breadboard for electronic prototyping is straightforward. Here are the basic steps:
Breadboard Sizes and Types
Breadboards come in various sizes and types, each suited for specific projects or needs. The selection depends on the complexity of the circuit and the space required for all components and connections. Two main types are:
Additional Breadboard Features
Breadboards also come with a variety of extra features to enhance usability. Some breadboards are equipped with color-coded rows for easier understanding of internal connections. Others may have alphanumeric coordinates for referencing specific points on the board. Certain models even come with adhesive backings or mounting holes, providing options for permanent or semi-permanent installations.
Choosing a Breadboard
When choosing a breadboard for your project, consider the following factors:
Breadboard Limitations
Despite their versatility, breadboards do have some limitations. They are not suited for high-frequency applications due to internal parasitic capacitance and inductance. They are also not ideal for large-scale or permanent installations. Furthermore, tiny components like surface-mount devices (SMD) cannot be used with breadboards directly. Still, for prototyping and learning, breadboards remain an invaluable tool.
Conclusion
In conclusion, breadboards are an essential tool for anyone dabbling in electronics, whether beginners learning the basics, or experienced engineers testing circuit designs. While they do have limitations, their flexibility, ease of use, and affordability make them indispensable in electronics prototyping. The key to effectively using a breadboard is understanding its structure, knowing how to insert and connect components correctly, and choosing the right type and size for your project. So whether you’re building a simple LED circuit or a more complex digital device, the humble breadboard is your reliable partner in creation.